Google Analytics is a powerful, free tool that helps WordPress site owners understand their visitors, track website performance, and make smarter decisions. This guide shows three easy ways to add Google Analytics to your WordPress site: using a beginner-friendly plugin like MonsterInsights, adding the tracking code manually for more control, or connecting through Google Tag Manager for advanced flexibility. You’ll also learn best practices, common mistakes to avoid, and tips to get the most out of your data. By setting up Google Analytics, you can track your audience, discover popular content, measure traffic sources, and improve your site’s growth with data-driven insights.
Table of Contents :
- Why Your WordPress Site Needs Google Analytics
- Prerequisites: What You Need Before You Start
- Method 1: Using a WordPress Plugin (The Easiest Way)
- Method 2: The Manual Code Method (For More Control)
- Method 3: Using Google Tag Manager (The Flexible Power-User Method)
- Best Practices and Common Mistakes to Avoid
- Start Tracking Your Success Today
Why Your WordPress Site Needs Google Analytics
You’ve built a beautiful WordPress site, you’re publishing great content, and you’re driving traffic. But do you truly know what happens after a visitor lands on your page? Without data, you’re navigating in the dark.
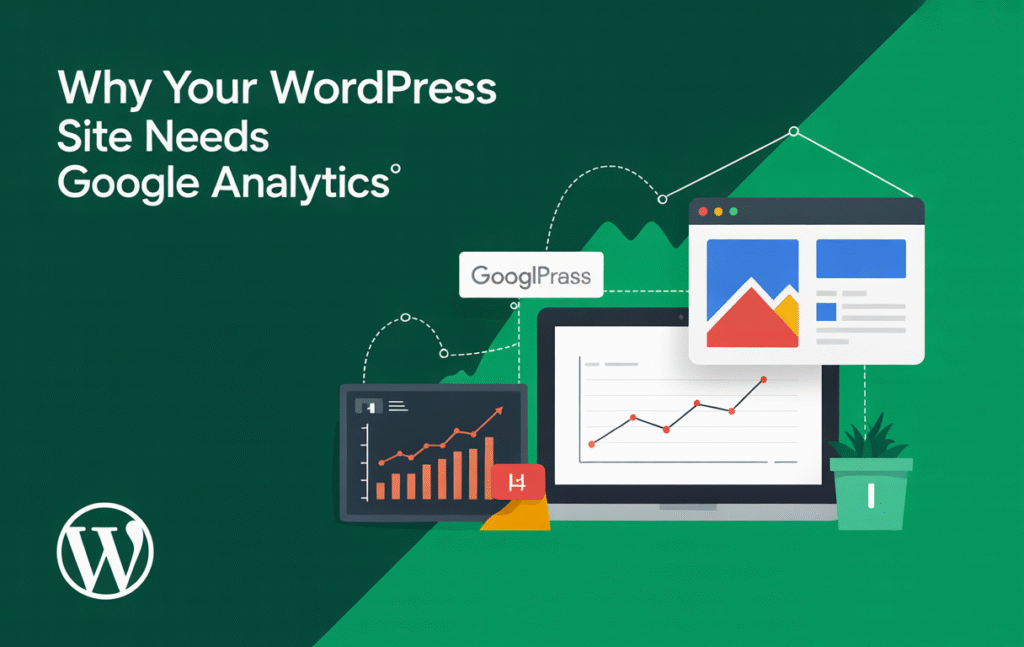
This is where Google Analytics shines. It’s a free, powerful tool that gives you a deep understanding of your audience and their behavior. By learning how to add Google Analytics to your WordPress site, you can unlock insights that help you:
- Understand Your Audience: Discover where your visitors are from, what device they use, and their interests.
- Track Website Performance: See which pages and blog posts are the most popular and how long people stay on your site.
- Make Data-Driven Decisions: Use real data to improve your content strategy, user experience, and marketing efforts.
- Measure Traffic Sources: Find out if your traffic comes from search engines, social media, or other websites.
In this comprehensive guide, we’ll walk you through three simple methods to connect Google Analytics to your WordPress site, even if you’re a complete beginner. Let’s dive in!
Prerequisites: What You Need Before You Start
Before we begin, you’ll need two things:
- A Google account (like a Gmail account).
- Your live WordPress website.
Method 1: Using a WordPress Plugin (The Easiest Way)
This is the most popular method for beginners because it’s straightforward and doesn’t require touching any code. We’ll use the MonsterInsights plugin, the most user-friendly option for this task.
Step-by-Step Guide to Add GA4 to WordPress with MonsterInsights
- Create a Google Analytics 4 Property:
- Go to the Google Analytics website and sign in.
- Click “Start measuring” and follow the prompts to set up an account for your business or website.
- When asked to create a “property,” make sure to select Google Analytics 4 (GA4). Google has replaced the old Universal Analytics with GA4, so it’s crucial you set up the new version.
- Install the MonsterInsights Plugin:
- In your WordPress dashboard, go to Plugins > Add New Plugin.
- Search for “MonsterInsights.”
- Click “Install Now” and then “Activate.”
- Connect MonsterInsights to Google Analytics:
- After activation, a setup wizard will appear. Follow the prompts.
- You will be asked to connect MonsterInsights to your Google Analytics account. Click the “Connect MonsterInsights” button, which will authenticate your account seamlessly.
- Select your website’s profile, and the plugin will automatically complete the configuration.
That’s it! MonsterInsights will now start feeding data into your WordPress dashboard, showing you key metrics without needing to leave your admin area.
Pros & Cons of the Plugin Method
- 👍 Pros:
- Extremely easy and fast; no technical skills required.
- Shows analytics reports directly in your WordPress dashboard.
- Offers advanced features like tracking form conversions, eCommerce, and outbound links.
- 👎 Cons:
- The free version has limitations; advanced features require a paid license.
- Adds an extra plugin to your site, which can (minimally) affect performance.
Method 2: The Manual Code Method (For More Control)
If you prefer to keep your plugin count low or want a hands-on approach, you can add Google Analytics to your WordPress site manually by inserting the tracking code.

Step-by-Step Guide to Manually Add GA4 Code
- Find Your GA4 Measurement ID:
- In your Google Analytics account, go to your GA4 property.
- Click on Admin (the gear icon at the bottom left).
- Under “Property,” click on Data Streams and select your website stream.
- You will see your Measurement ID (e.g.,
G-XXXXXXXXXX). Copy this ID.
- Insert the Code into WordPress:
- In your WordPress dashboard, go to Appearance > Theme File Editor.
- ⚠️ Important Warning: Editing theme files directly can break your site if done incorrectly. It’s highly recommended to use a child theme.
- On the right-hand side, look for the
header.phpfile and click on it. - Find the
<head>section. Paste your GA4 code snippet (which you can get from the “Tagging Instructions” in your Data Stream) just after the opening<head>tag. - Click “Update File.”
Pros & Cons of the Manual Method
- 👍 Pros:
- No extra plugin needed, keeping your site lean.
- Gives you full control over the tracking code placement.
- 👎 Cons:
- Requires comfort with editing theme files, which can be risky for beginners.
- The tracking code can be lost if you change your theme.
- More steps involved and easier to make a mistake.
Method 3: Using Google Tag Manager (The Flexible Power-User Method)
Google Tag Manager (GTM) is a “container” for all your marketing and tracking codes. Instead of adding multiple code snippets to your site, you add the GTM code once and manage everything from its interface.

Step-by-Step Guide to Connect via Google Tag Manager
- Set Up Google Tag Manager:
- Create an account at tagmanager.google.com.
- Create a “container” for your website.
- You will be given two code snippets: one for the
<head>and one for the<body>.
- Insert GTM Code into WordPress:
- You can insert these codes manually using the Theme File Editor (as in Method 2) or, more easily, use a simple plugin like “Insert Headers and Footers.”
- Set Up Google Analytics in GTM:
- Inside your GTM workspace, click “New Tag.”
- Choose “Google Analytics: GA4 Configuration.”
- Paste your GA4 Measurement ID (from Method 2).
- Set the trigger to “All Pages.”
- Save the tag, and click “Submit” to publish your container.
Pros & Cons of the Google Tag Manager Method
- 👍 Pros:
- Incredibly flexible for adding other tracking pixels (Facebook, Pinterest, etc.) without touching code.
- Manages all your tags in one place.
- Great for advanced users and marketers.
- 👎 Cons:
- Steeper learning curve for beginners.
- Adds an extra layer of complexity.
Best Practices and Common Mistakes to Avoid
Now that you know how to add Google Analytics to WordPress, follow these tips to ensure you’re set up for success.
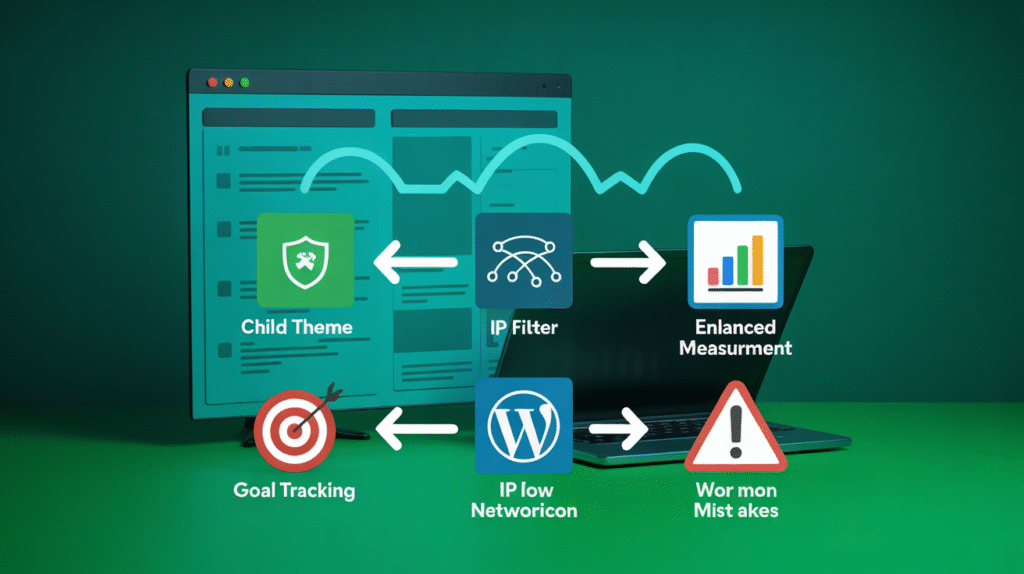
- Use a Child Theme: If you use the manual method, always use a child theme to prevent your tracking code from disappearing after a theme update.
- Set Up Goals: Don’t just track pageviews. Set up goals in GA4 to track conversions like contact form submissions, newsletter signups, or purchases.
- Filter Out Your Own Traffic: In GA4, configure your IP address as a filter to prevent your own visits from skewing the data.
- Enable Enhanced Measurement: In your GA4 data stream settings, ensure “Enhanced Measurement” is on. This automatically tracks page views, scrolls, outbound clicks, and more.
- Common Mistake: Using Old Universal Analytics Code: Double-check that you are setting up a GA4 property, not the outdated Universal Analytics. The future is GA4.
Start Tracking Your Success Today
Understanding your website’s performance is no longer a luxury—it’s a necessity for growth. Learning how to add Google Analytics to your WordPress site is the first and most crucial step toward making informed decisions that can transform your online presence.
Whether you choose the simplicity of a plugin like MonsterInsights, the control of the manual method, or the flexibility of Google Tag Manager, the important thing is to get started. Your data holds the key to your audience’s heart, and it’s waiting for you to unlock it.
Take action today. Set up Google Analytics and begin your journey to a smarter, more successful website. If you encounter any issues, feel free to contact us at Fazz Marketing — we’re here to help!